
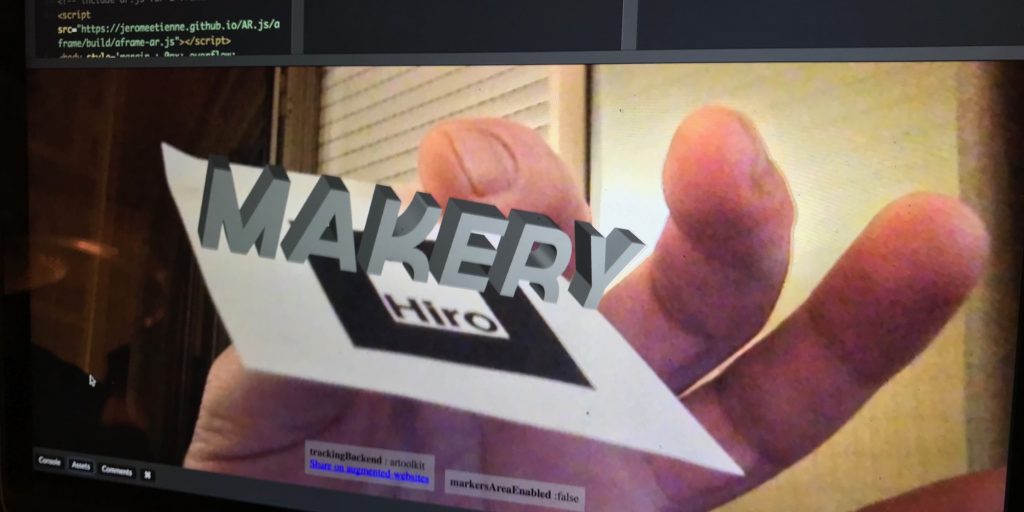
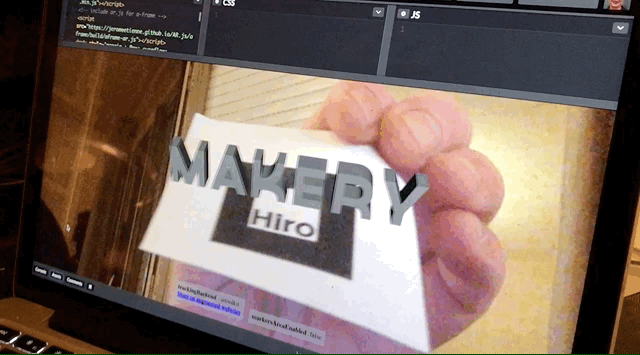
Makery in augmented reality (screen capture). © Nicolas Barrial
No need to wait for Apple’s ARKit to get started with augmented reality. All you need are a Web browser and a few lines of code.
It was about time augmented reality got its own shock simplified treatment for the Web. In April, we showed you how to embed virtual reality (VR) into a Web page with just a few lines of code, using WebVR and the open source platform A-Frame. For augmented reality (in which virtual objects are displayed in real space through the prism of a screen), a Web browser and a few lines of code will also do the trick.
So here’s how you do it, thanks to Jérôme Etienne’s AR.js solution. This French developer based in Dublin has made it his mission to make AR accessible on the Web, using A-Frame, the platform launched in 2015 by the Mozilla Foundation, which allows you to embed objects, animations, etc. in order to build VR scenes on a Web page. To follow the tutorial below, you’ll need a computer equipped with a camera and a printer.

Step 1: test the code
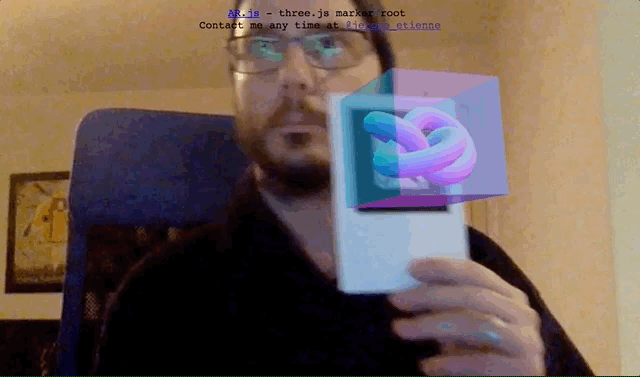
– Go to the Codepen page by Jérôme Etienne, dedicated to AR.js. On Codepen you can test programs directly in real time. One of the windows displays your webcam feed; another displays the code.
– To display an object, use the marker—a pattern that you can download and print. Show the marker to your camera to see the object appear on your screen.


Does it work on a smartphone?
It’s the whole concept! AR.js can be copied and pasted into HTML (which is read by the browser to display the Web page). All you need to do to test the script is load the page into a compatible mobile browser on your phone.

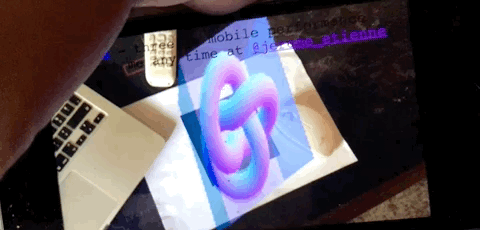
We tested it on Android with the latest version of Chrome and on iOS 11 with the latest version of Safari. You can check the latest browser support compatibilities here.
Step 2: modify the parameters of the scene
In the first test, a basic cube appeared. This is an A-Frame component. To make more sophisticated scenes, create your own free Codepen account, then go back to Jérôme Etienne’s Codepen page. “Fork” (geek speak for copy and paste) the AR.js code onto your page using the assigned button.
– In the code, go to the lines that describe the content. See below:
– In Codepen, replace, for example, <a-box with <a-sphere to get… a sphere. Logical, isn’t it?
– Now it’s your turn. Adjust transparency, change the size of the object, add a color, an animation, etc. Here are a few examples for inspiration.
Tutorial to build an animated planet Earth:

– Finally, if you’re ready to experiment further, you can use the Javascript library Three.js. Jérôme Etienne published some examples on Codepen, here and there.
Step 3: import a 3D model
A-Frame authorizes imported 3D models, so you should be able to display your own AR models using AR.js. We tried it, successfully.

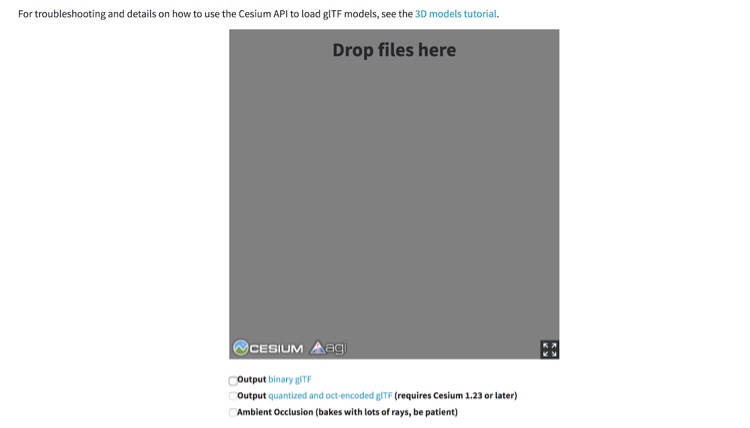
– A-Frame recommends using gltf format, the jpg of 3D modeling. You can search for a 3D model on Sketchfab, which offers to convert files into gltf format. You can also create your own 3D model, for example in Blender. Save it as a .obj file and convert it to .gltf here.

– Now you need to host your file. If you don’t have a server available, simply use a directory on GitHub! Create an account and follow this step-by-step video tutorial that explains how to import your object and get its URL.
– Finally, go back to Codepen. If you want to display the Makery logo, insert the code below. If you want to use your own model, follow the instructions between <!– –>.
Step 4: change the pattern of your marker
You can customize the marker:
– Go to the Pattern Marker Training website, import your pattern and download your new marker.
– Finally, just as before, host the (.jpg) file on GitHub, then modify the line of code identifying the marker in AR.js.
So there you have it. Now you can add “augmented reality developer” to your résumé!
Jérôme Etienne’s AR.js directory on GitHub