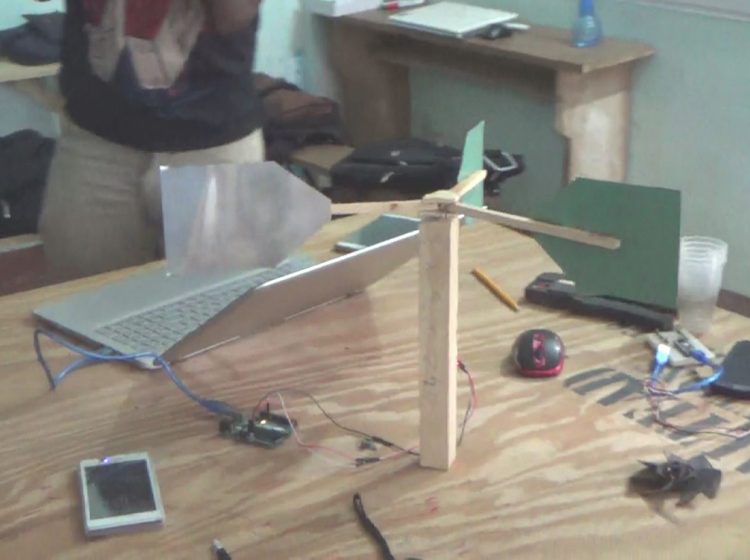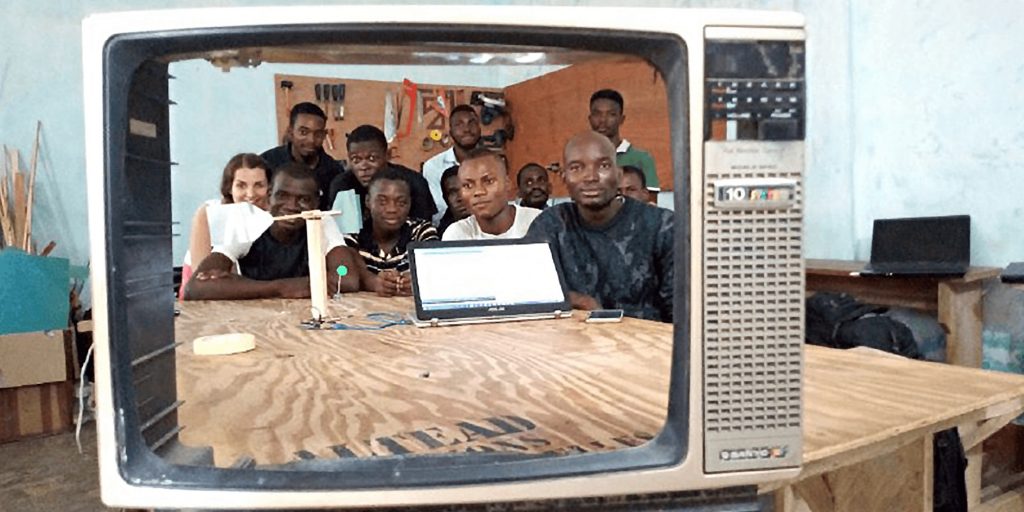
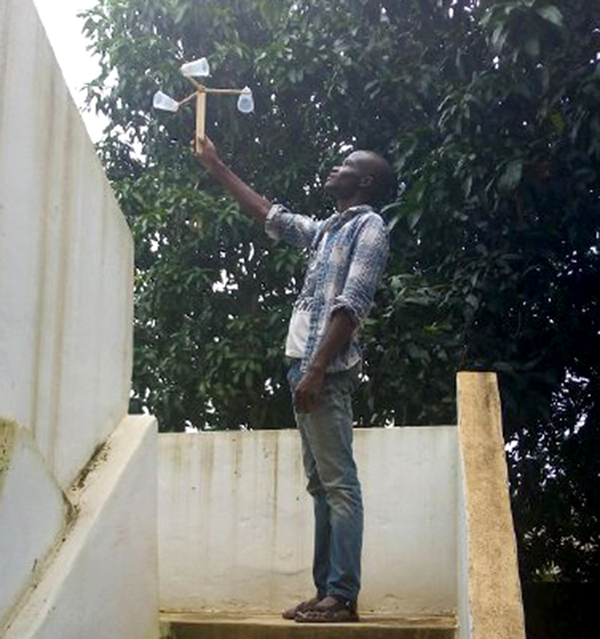
End of the workshop at the Ecoteclab, with the anemometer at the forefront. © Caroline Grellier
The makers of Ecoteclab are into low-tech and sustainable development. We were with them in June at their monthly DIY workshop to create an instrument that measures the wind.
Lomé, correspondence (words and photos)
As wind energy is flying high, especially in Africa, the makers of Ecoteclab in Togo tasked themselves with building an anemometer. A what? For non-meteorologists, an anemometer is an instrument that measures wind speed. It’s a funny-looking device with three big ears attached to the top of a mast. The wind blows through the ears, rotating the structure, while sensors capture data. Ecoteclab’s monthly DIY workshop was particularly timely, as the month of June is punctuated by violent winds announcing rain.
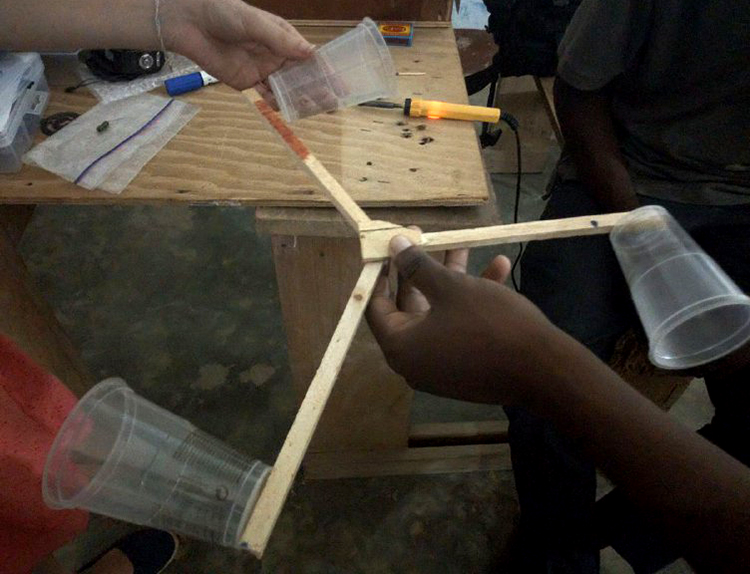
In this special worskhop, we think while doing, we test, we glue, we unglue, we change materials, and each one acts as he judges fit to improve the tinkering in progress. Coding kept the geeks plenty busy, while as the team in charge of realizing the structure, we racked our brains to build this wind gauge with whatever we could get our hands on. For the ears, we first tried plastic discs cut from a washing container wired together through empty pens, then plastic cups, and finally, aluminum blades.


After three prototypes and brain-twisting bugs in the code, this is our most successful version. We welcome your ideas to improve it in future workshops. On your mark, get set, blow!
Materials
To build the structure of the anemometer:
– Light wooden stick (1cm x 1cm x 100cm);
– Light wooden mast (15cm x 15cm x 0.8cm);
– Square wooden bracket (4cm x 4cm);
– Hot glue gun with glue cartridge;
– Sheet of aluminum;
– Rivet.
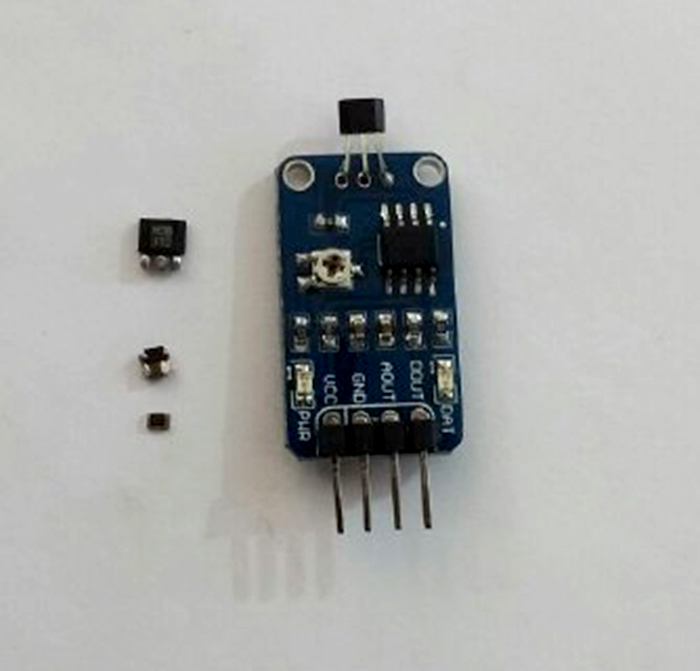
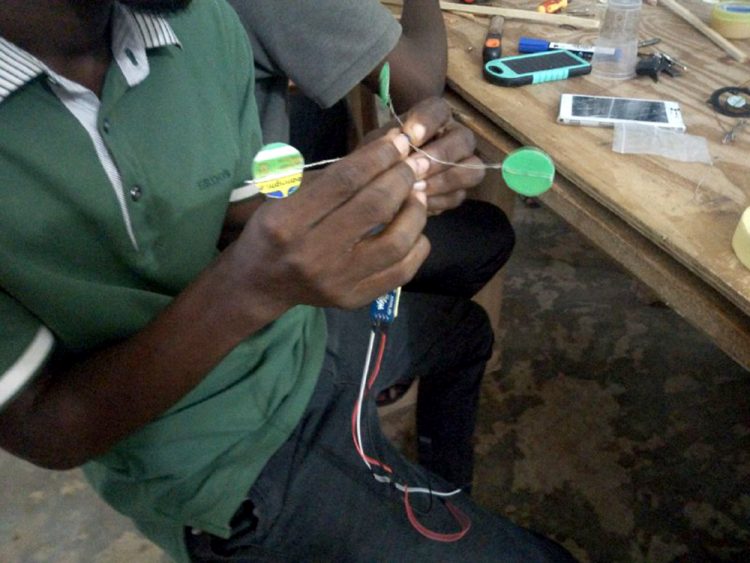
To make the DIY sensor (yes, you can always use a pre-fabricated one, but Ecoteclab likes challenges and hardware hacking, so we make everything to save more money!):
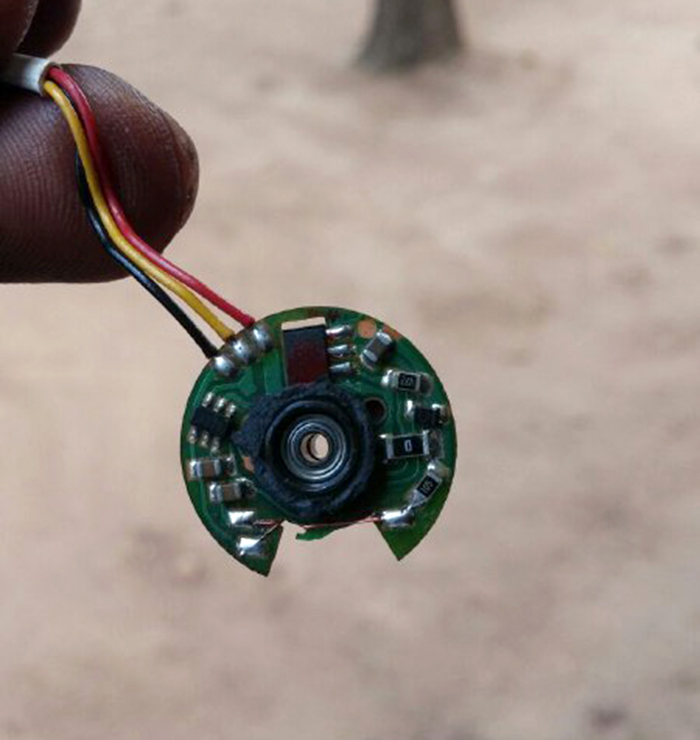
– Old laptop fan to use the Hall effect sensor, capacitor and resistor;
– Old CD player to use the magnet;
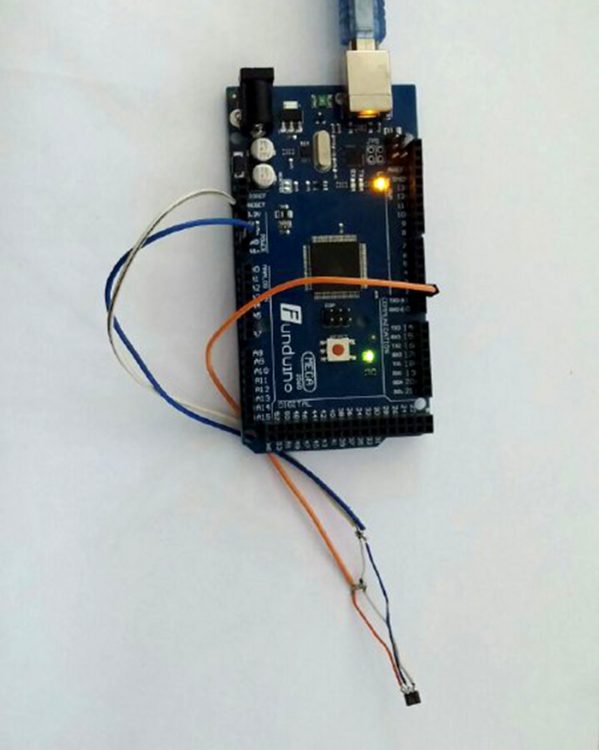
– Arduino board.
Building the structure
Cut 3 pieces of wood, each 30cm long.

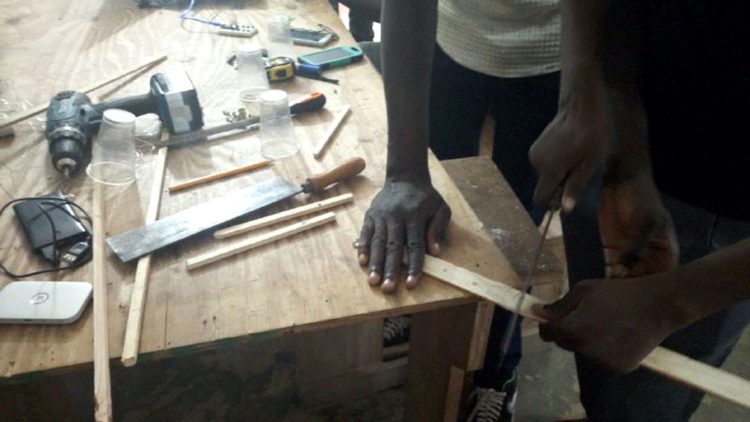
Sand down the corners so that the 3 sticks fit snugly around the bracket. Hot glue everything together. To reinforce the whole, glue two wooden pellets on each side of the structure.

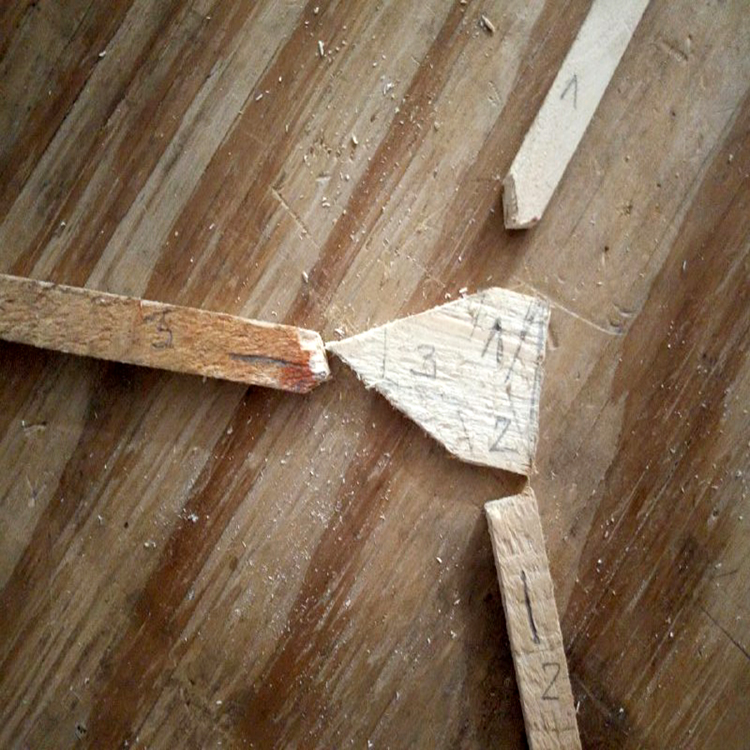
Cut 3 blades from the sheet of aluminum. Glue the blades on each end of the wooden sticks.

Pierce a hole in the center of the package. Pierce a hole in the center of the wooden mast. Insert the rivet. If you’ve followed everything correctly so far, the blades should turn!

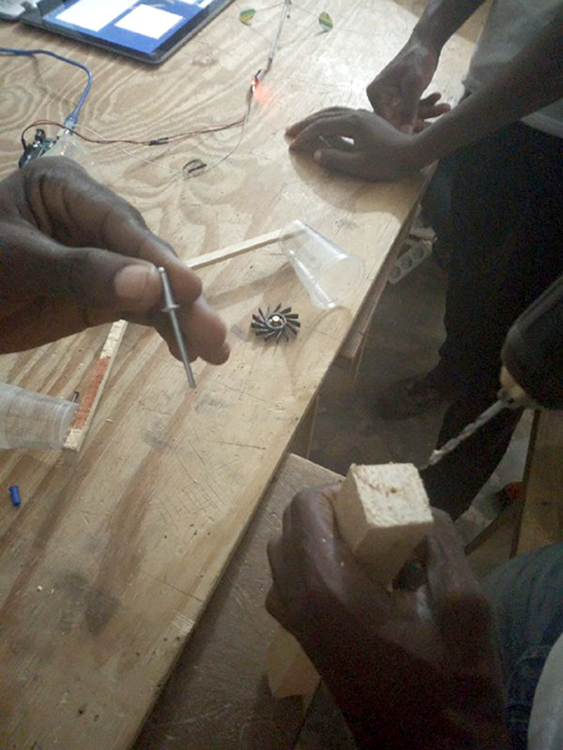
Glue the magnet to the top of the mast.

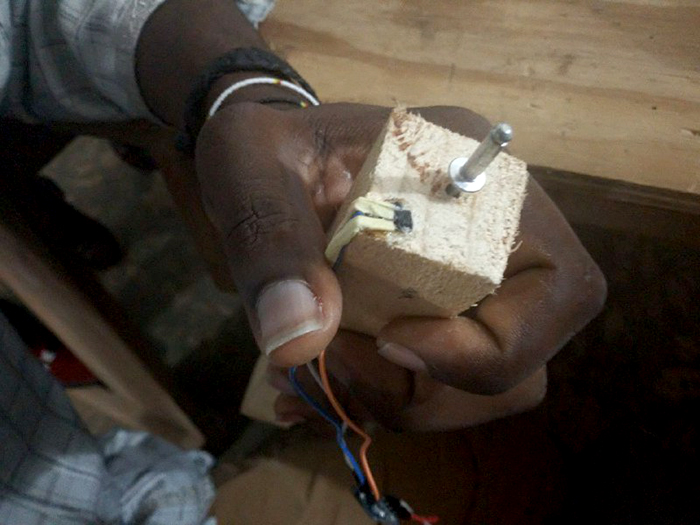
Making the sensor
Once you’ve extracted the Hall effect sensor, capacitor and resistor from the laptop fan, all you need to do is solder everything together.