
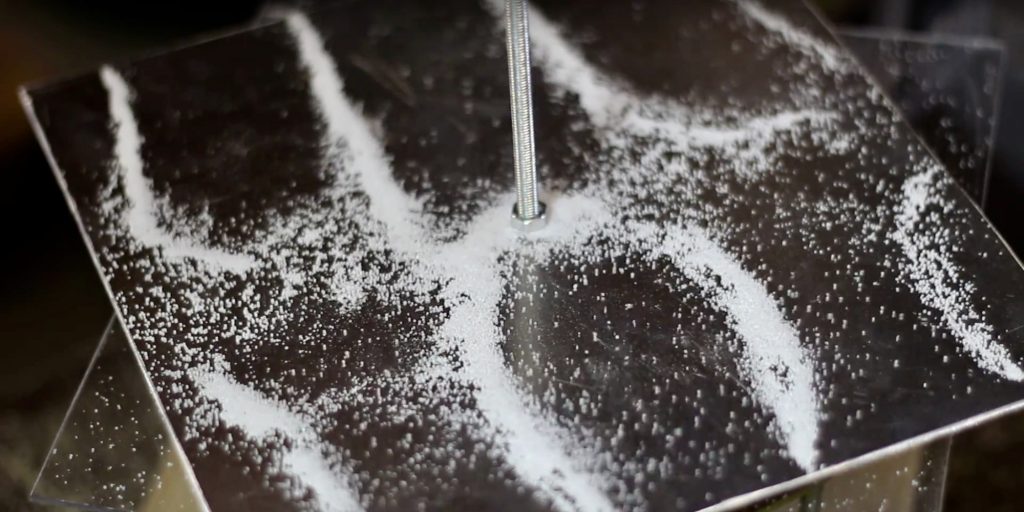
Sprinkle a bit of sand to see an acoustic Chladni figure take shape. © DR
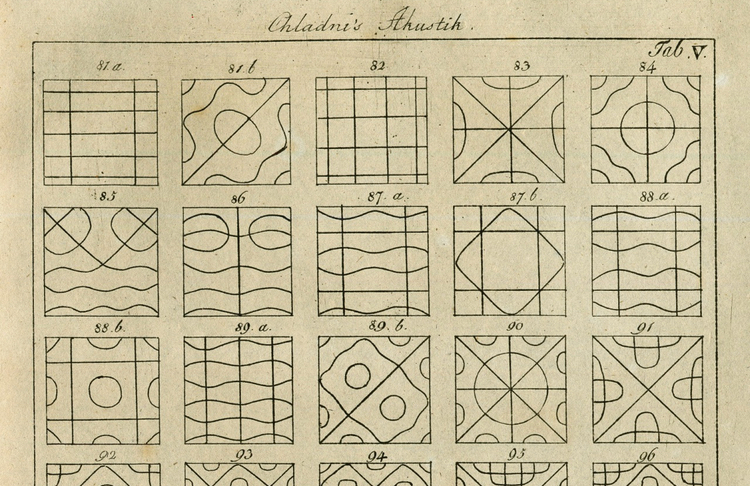
Sound waves hide strange patterns, first revealed in the 19th century by the founder of modern acoustics, Ernst Chladni, who used a vibrating plate. Test the DIY version concocted by the cofounder of a Belgian hackerspace.
Sound is an unknown, as its very definition attests: “mechanical vibration of a fluid that spreads in the form of waves.” What fluid? Air, of course! But the real surprise, is that depending on the vibration’s intensity, the waves form different patterns. Chladni figures were discovered in the 19th century by the German physicist Ernst Chladni, who used a bow to generate a wave on a copper plate covered with sand.

Now, you too can relive that eureka moment by making a Chladni plate revisited by 25-year-old Belgian maker Loïc, aka Iooner, developer and cofounder of Liege Hackerspace. We were greatly inspired by the tutorial on his blog.
Materials
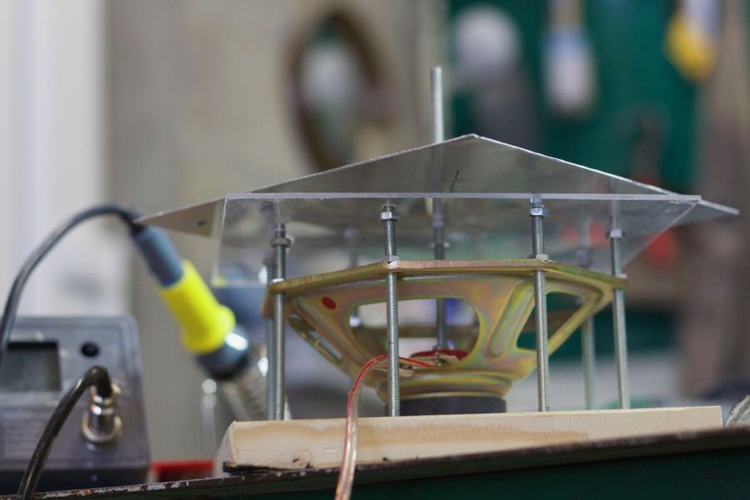
– 1 loudspeaker
– 1 piece of wood (15 X 15cm)
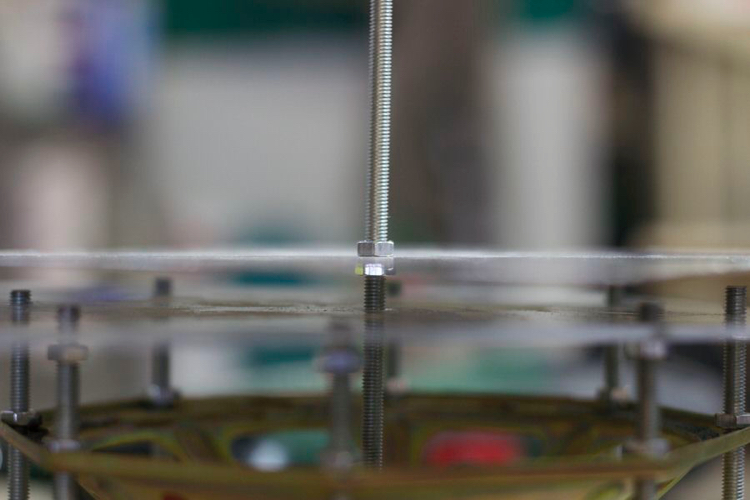
– 1 Plexiglas plate (15 X 15cm)
– 1 thin aluminum plate (20 X 20cm)
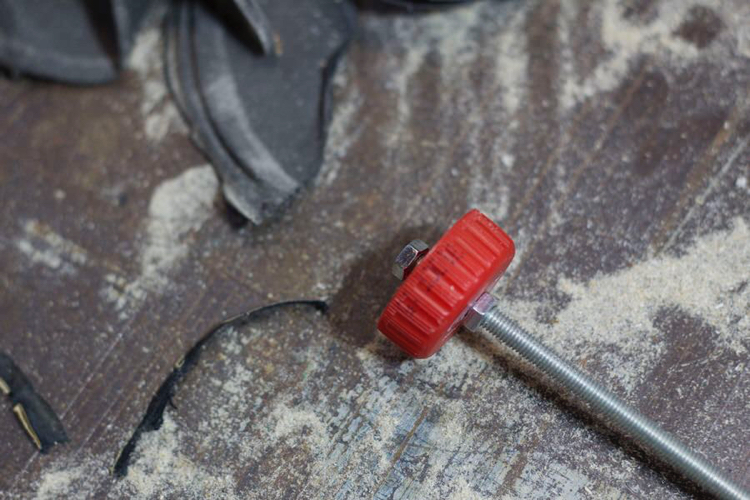
– 1 plastic bottle cap
– 9 long bolts (5mm) and 10 nuts (5mm)
– Soldering iron, drill (5mm), glue, cutter
– 1 amplifier or hifi system and audio cables
The size of the plates is relative to the size of the speaker.
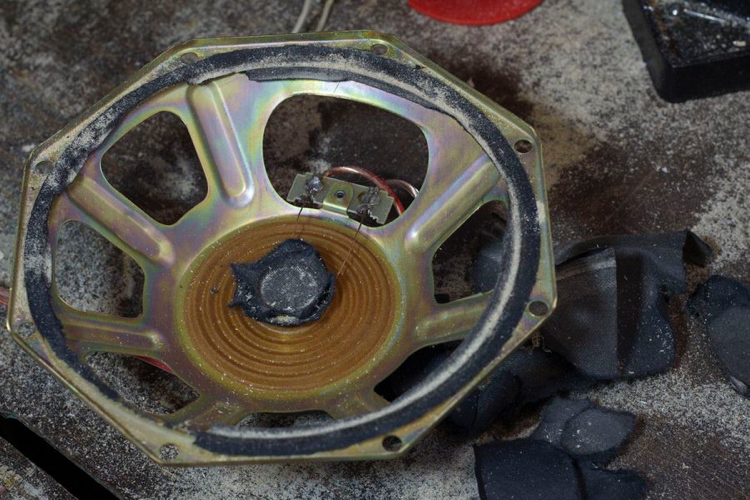
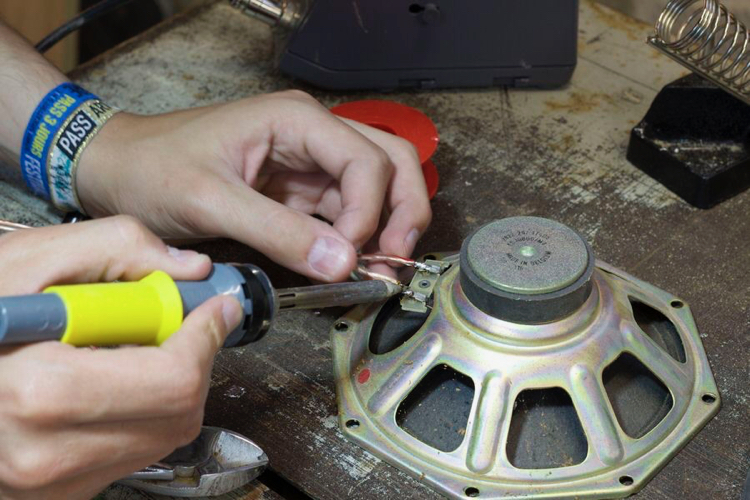
Step 1: Prepare the speaker

Step 2: Prepare the base
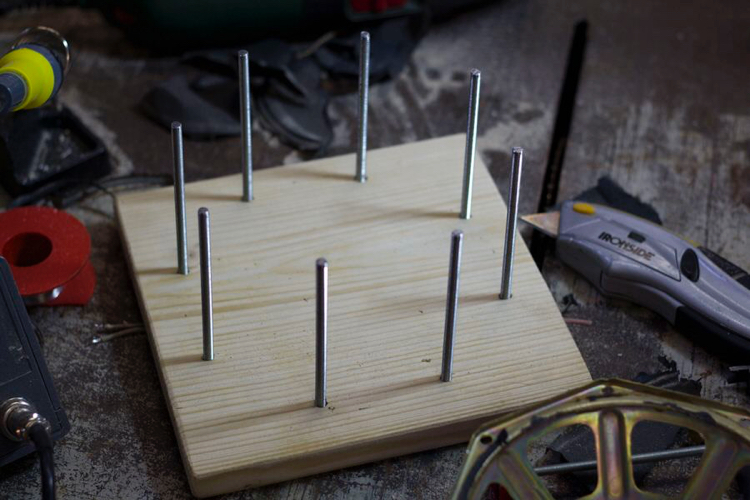

Step 3: Prepare the plate
Step 4: Plug and play
Connect the speaker to the amplifier. Sprinkle some fine sand or sugar onto the aluminum plate. You can use either a mobile or desktop application to generate certain frequencies. Simply plug the device of your choice into the amplifier and play!
DIY Chladni plate by Iooner:

In other acoustic experiments, this one shows a non-Newtonian fluid suspended above a speaker. Easy to do? Yes, if you have a camera that shoots 1,600 frames per second!
DIY Chladni plate tutorial (in French) on Loïc aka Iooner’s blog