
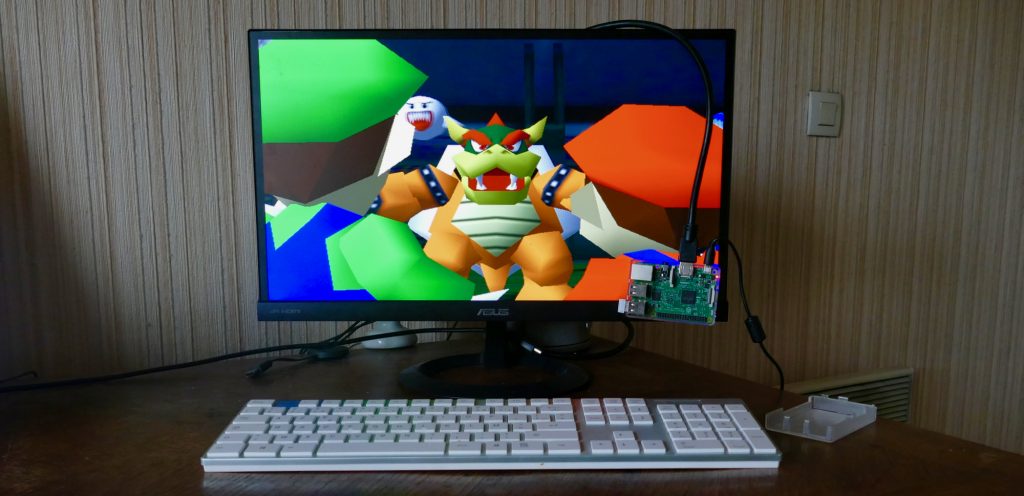
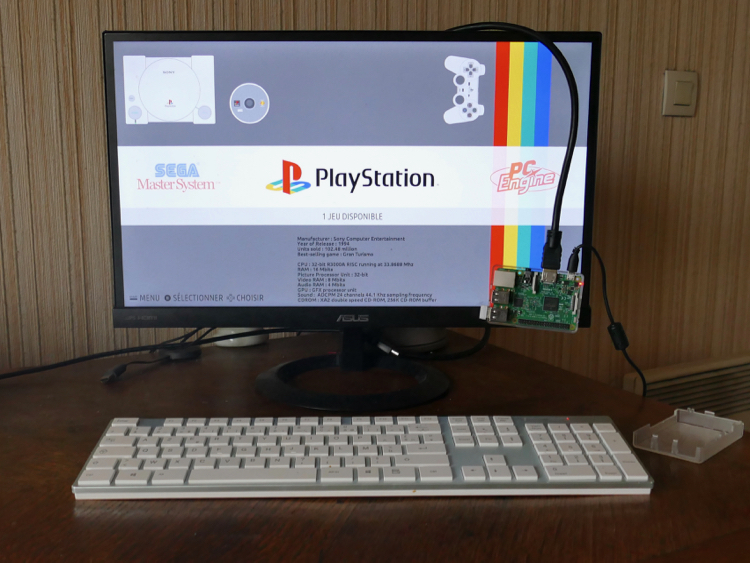
Retrogaming on the big screen with Recalbox. © Nicolas Barrial
Recalbox packs in 30 consoles on a Raspberry Pi for an infinite and multiplayer game library. Its interface made in France is simple to install. Read on to build your own.
As the Nintendo Switch is released worldwide with 28 games for $300, the Recalbox offers no less than 30,000 titles for around $40. Of course, some are old, as it is a retrogaming solution for the Raspberry Pi. Still, this DIY console for retro games can compete with the big boys…
Conceived by French developer and DIY arcade fan Digitalumberjak, the console emulates almost everything, from Vectrex to Playstation, from Atari to Nintendo 64 systems, and in itself justifies buying a Raspberry Pi! The little computer offers connections for five controllers (including Bluetooth) and just as many players.

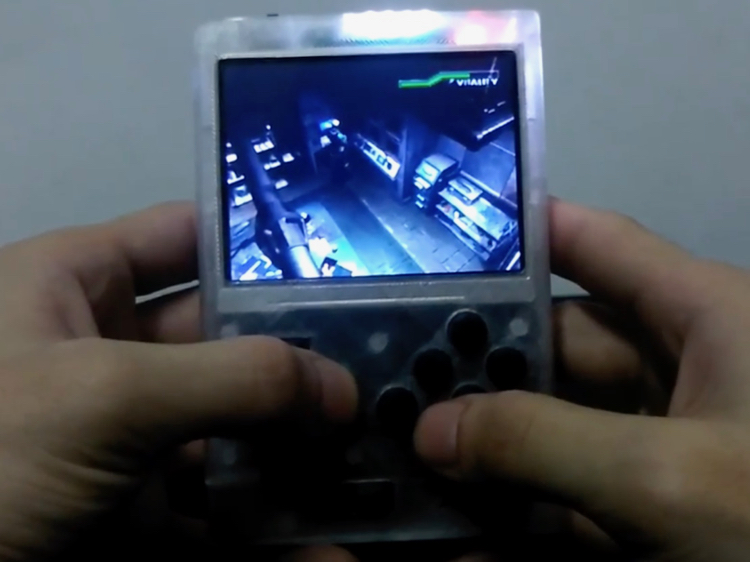
Our installation demo uses a desktop monitor and keyboard. Once configured, Recalbox can be plugged into any TV in the house. It also works with a compact controller, and can even be made portable with a 7-inch screen, battery and a bit more tinkering. In any case, the following steps are necessary.
Materials
– 1 computer (PC or Mac) with Internet access that will be used for the initial installation;
– 1 Raspberry Pi 3 (all Raspberry Pi models are compatible, but as the first-generation and Pi Zero lack wifi, you will also need a USB wifi dongle);
– 1 monitor and HDMI cable;
– 1 USB keyboard ;
– 1 micro-SD card 8GB (minimum) and SD adapter.
Software
– 1 software to format the micro-SD card;
– Latest version of Recalbox (free).
Installing Recalbox
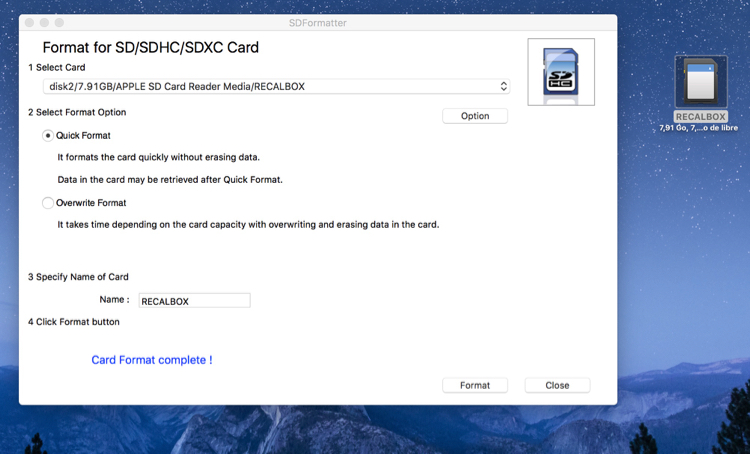
1) Insert the micro-SD card (adapter-reader) into your computer;
2) Format the micro-SD card with the software’s default settings.

3) Download Recalbox onto your computer and unzip the file.
4) Move the Recalbox files under the root of the micro-SD card.
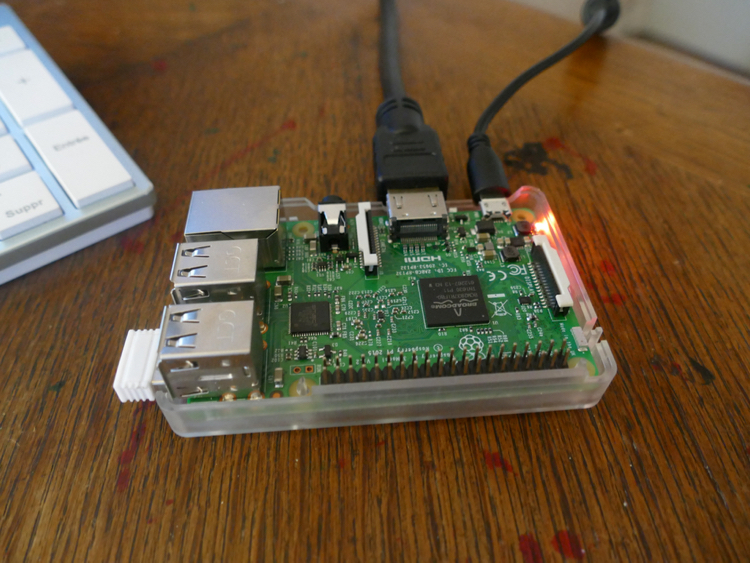
Plugging in the Raspberry Pi
1) Connect the Raspberry Pi to the monitor with the HDMI cable and to the keyboard via USB.
2) Insert the micro-SD card into the Raspberry Pi and plug in the power.

Installing the software takes less than a minute. The monitor will then display the consoles that have at least one game available. You can already start playing with the keyboard—just press Q to validate your choices.
To add games, connect Recalbox to the same wifi network as your computer. It’s easy with a dedicated menu box.
Connect Recalbox to wifi
1) Press ENTER to display the “Settings” menu.
2) Press Q to display the “Network Options” menu.
3) Select “WIFI SSID” and enter the name of your wifi network.
4) Select “WIFI KEY” and enter your password.
5) Restart Recalbox.
Note that Recalbox has trouble recognizing special characters (such as #) in the wifi password. Although there is a DIY solution on Github, we chose a quicker fix and replaced our key with a series of numbers.
Once Recalbox is connected to wifi, it appears as a “shared folder” on the computer. You can fill it with ROM (Read Only Memory) files, or ROM images of games downloaded from dedicated sites. These emulations, and by extension, most of the games you will find there, are not in the public domain (so it’s just as illegal as downloading music and movies), but the practice is tolerated.
Adding games to Recalbox
1) Open the Recalbox shared folder on your computer.
2) Open the Bios folder, which contains one folder for each console.
4) Download a game from a site that offers ROM files.
5) Put the ROM file in the folder of its corresponding console.
6) Restart Recalbox to load the game.

What about the joystick?
In both USB and Bluetooth mode, most controllers are recognized directly. However, Recalbox does not recognize Raspberry Pi’s native Bluetooth, so you will need to use a Bluetooth USB.
Finally, when it comes to outfitting your Recalbox, don’t hesitate to get ideas from makers and fablabs, big fans of emulation.
Ma console rétro faite maison est terminée, merci @Raspberry_Pi d'avoir créé le #RaspberryPiZero et merci @recalbox pour l'OS extraordinaire pic.twitter.com/rhPvfMG1S3
— SupraMick (@SupraMick) February 4, 2017
The Recalbox OS is open source and updated regularly (by downloading through a menu in the interface), thanks to its large community. In January, Recalbox added to its dashboard Dreamcast and PSP—a not-so-retro console, as it was only discontinued in 2014.