

A circuit painted with DIY conductive ink by Makerboat. © Makerboat CC by SA 2.5
Do you find conductive ink pens too costly and recipes too chemical? A lab in Barcelona offers a simple method to make your own conductive ink at home.
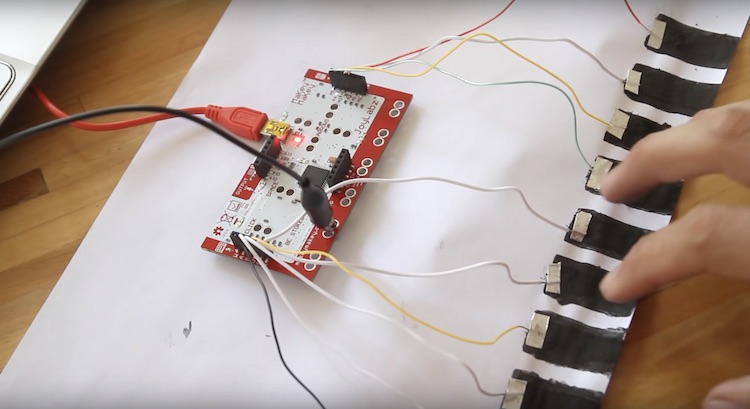
What if calligraphy were to become conductive? In the age of STEM education, a child’s first drawings could become both illustrative and electric. Conductive ink allows you to draw circuits that can light up LEDs or control a 2D musical instrument connected to a Makey Makey board, and the possibilities are endless once you attach an Arduino microcontroller.

While there are already a few “metallic” conductive ink pens on the market, the best are still rather expensive ($20 Circuit Scribe) or require special paper and/or film (even erasable, like AgIC’s Circuit Marker). There also exist more than a few recipes to concoct your own DIY conductive ink, but most involve ingredients and equipment that are more suited to amateur chemists.
Fortunately, Mauricio Cordova, a Barcelona-based maker devoted to education and ecology and founder of the open design lab Makerboat, offers a simplified tutorial to make a sort of charcoal-based conductive water paint—especially for maker families at home.
Materials
– Pieces of charcoal (or powdered activated carbon);
– Black water paint (if you’re using pieces of charcoal);
– Transparent liquid glue;
– Vinegar.
Tools
– Blender;
– Glass;
– Teaspoon;
– Multimeter (to test conductivity).
Process
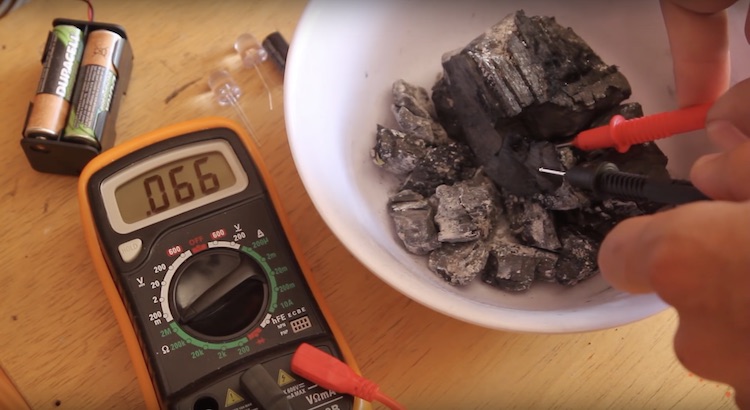
1/ Prepare the charcoal
Charcoal contains lots of carbon, a widespread natural element that is also very conductive. The concept is to reduce it to a liquid in order to make an ink. If you have a fireplace or a barbecue, pick out around 5 dense pieces of charcoal. Use the multimeter to measure the resistance of each one to make sure that it’s less than 100 ohms (the lower the number, the better the charcoal will conduct electricity).

Instead of using wood charcoal, you can always buy a bag of powdered activated carbon, which, according to Cordova, is even more conductive, stays black when diluted, and saves you the time of testing each piece of charcoal you dug out of the ashes.
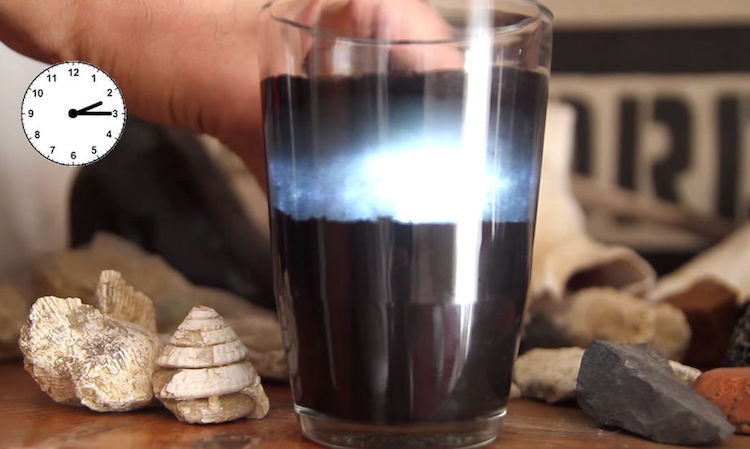
2/ Blend the charcoal
Place the pieces of charcoal (or a cupful of powdered activated carbon) into the blender with some vinegar and mix well for about 10 minutes. Pour into the glass and let rest for a couple hours, until the excess vinegar rises to the top. Remove the excess vinegar with the spoon.

3/ Mix the paint
Add a few globs of glue to thicken the solution. If you used pieces of charcoal, add some black paint to darken it. Stir well.
Voilà! Now it’s time to experiment with LEDs, batteries, piezo, Arduino, etc., painting on paper, textiles and other surfaces. But don’t forget that this black ink stains easily, is not waterproof, and will always be less conductive than commercial inks that contain silver particles.
If you want to buy a more powerful ink, Bare Conductive sells a conductive paint from $7 for 10ml. Their website is also rich in resources for its potential applications.
Tutorial on DIY conductive ink by Makerboat:
