
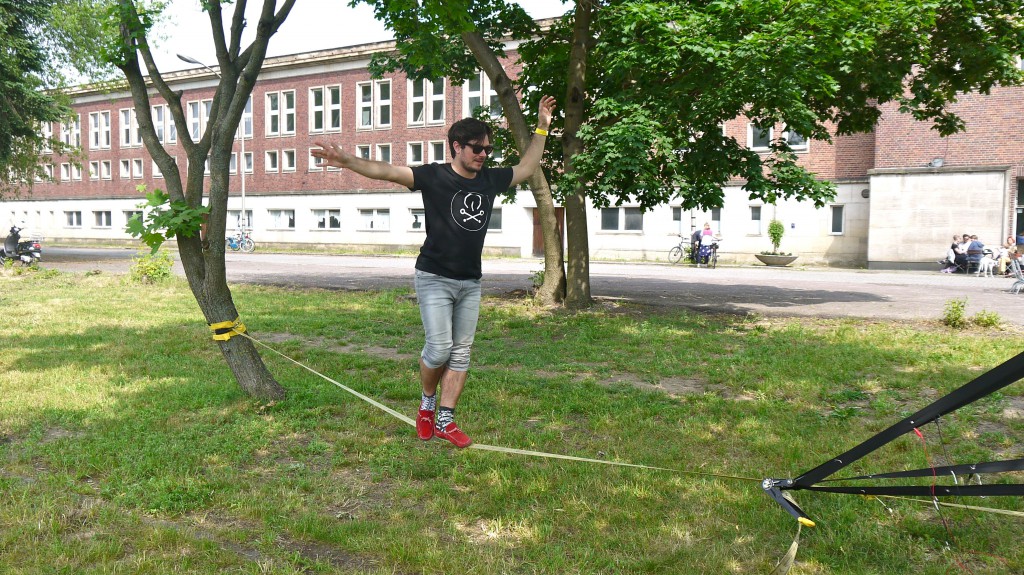
Henrik José, musician and member of Playtronica slacklines at the Music Tech Fest. © Elsa Ferreira
Slacklining is fun. A musical slackline is even better. Sergey Komardenkov, Russian designer member of the collective Playtronica, explains how to turn a tightrope into a theremin.
I’m sure you are familiar with slacklining, this sporting activity that flourishes in our parks come summer. Two trees, webbing stretched between them, and there you are, walking on a line, one foot off the ground. Sergey Komardenkov, Russian designer specialized in interactions and the experience of the user enhances this activity with music.
Thanks to conductive yarn, the conductivity of which increases with the pressure exerted, and an Arduino connected to Ableton Live, software for music production, he gives his slackline the feel of a theremin, the instrument that produces sounds from electrical signals generated by an oscillator.
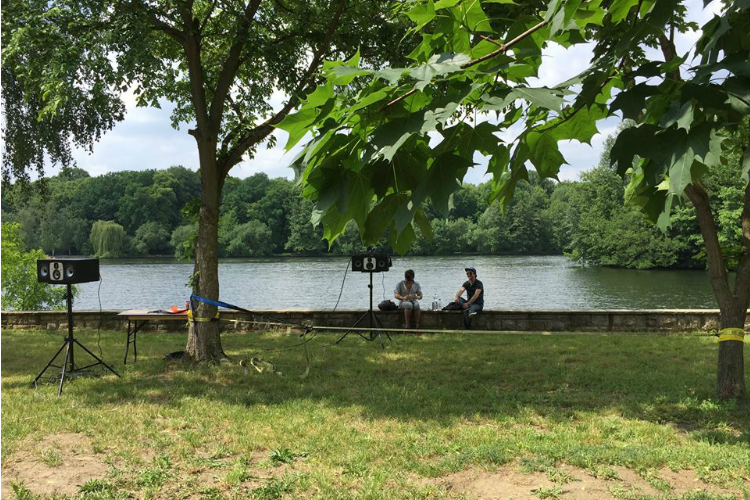
Musical slackline musicale by Henrik José (Playtronica), Music Tech Fest Berlin (2016):

Developed within Playtronica, association for the promotion of interactive DIY music, founded by the Russian producer Sasha Pas, the musical slackline is still in the prototyping stage, warns Sergey. Main problem: after four or five hours of intense use, the conductive yarn deteriorates. You get an afternoon of play even so, after which the yarn will need to be replaced (a relatively simple step).
For Makery, Sergey Komardenkov delivers the fabrication steps. Do not feel intimidated by the length of the manual: the construction is accessible to people of beginner and intermediary levels, assures the designer, who will spend between one and a half hours and a day, depending on how the seams are done, by hand or with a sewing machine – many fablabs and makerspaces have sewing machines. The cost price is only just in excess of one hundred euros. If you are having difficulties with one step, don’t hesitate to visit Playtronica! They will be at the Macki Music Festival, in Carrières-sur-Seine (France) from July 1-3, with a full-scale installation.

Equipment
– One 10K resistor;
– 2 meters of stranded wire;
– 2 alligator clips;
– approx. 10 meters of conductive yarn; ;
– 1.25 meters of 2-way stretchable fabric in the form of a ribbon. Approx. 5cm wide;
– 3 meters of stiff cotton fabric in the form of a ribbon. Approx. 5cm wide;
– approx. 1 meter of cotton thread;
– little piece of solid core wire;
– 1 Arduino Uno and its prototyping shield;
– 1 slackline.
Tools
– 1 needle;
– 1 knitting mill (optional, but highly recommended);
– 1 sewing and embroidery machine (optional, but recommended);
– scissors;
– 1 soldering iron.
Software
– Ableton Live (free 30 day trial version) and a connection kit (Firmata protocol);
– If you don’t have Ableton, you can use the free software Processing  plus a sound library or synthesize sound directly from your Arduino.
Fabrication
1) Cut the cotton ribbon into two equal parts, 1.5m each;
2) Sew each end of the stretchable fabric ribbon to a separate cotton ribbon from the two you made above. You can do it by hand or use a sewing machine;
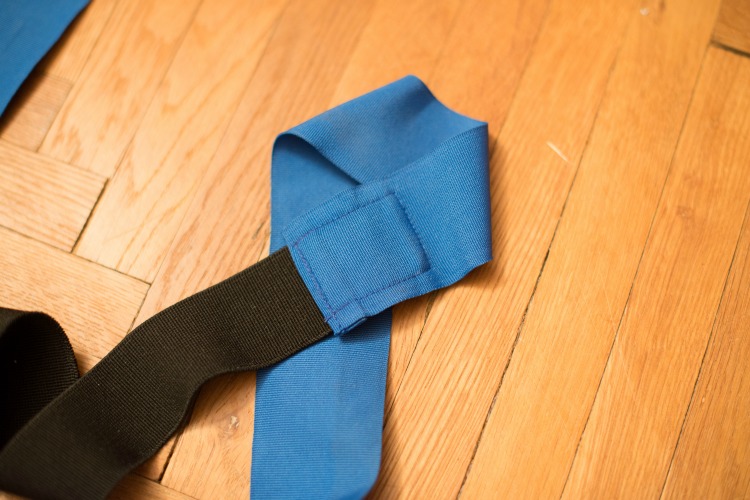
3) With cotton thread and the needle, make 3 to 5 hooks on the stretchable fabric to later pull the lace of the conductive yarn;

4) If you know crochet—great, you can take the conductive yarn and make the lace by hand. Otherwise, use a knitting mill machine to do the work in 5 mins. The desired length is approx. one meter;

5) Pull the lace through the hooks;
6) Sew each end of the lace to the stretchable fabric close to where the cotton ribbons are sewn. The lace itself should be stretched to roughly half of its stretching capability;
7) Cut the stranded wire in two equal parts and solder an alligator clip to one end of each of them;
8) Using a small piece of solid core wire and the 10K resistor, make the voltage divider circuit on a breadboard or prototyping shield. Connect the wire to an Analog pin;
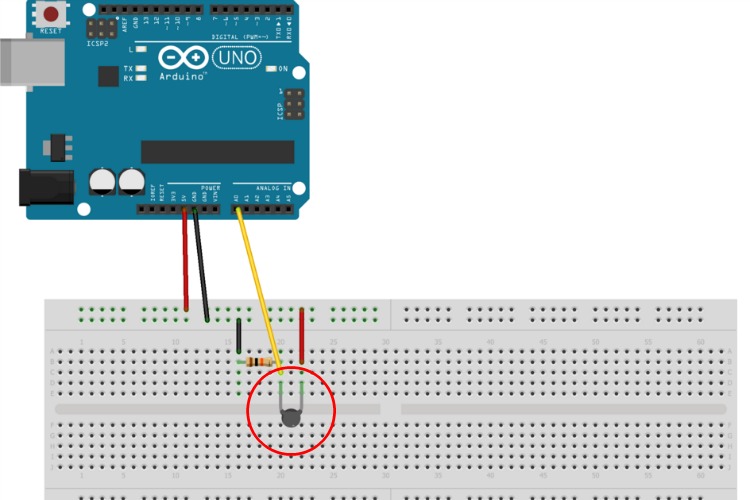
9) Hook up wires from step 7 into the voltage divider circuit to measure the resistance of the conductive lace;
10) Retrieve the code from the Firmata protocol on Github. Change the pin number in the supplied code according to the pin you chose when making the voltage divider.
11) Load the code to the Arduino. Keep Arduino connected via USB;
12) In Ableton Live, upload the free Connection Kit plugin for Ableton;
13) Create a new Ableton set, add the Connection Kit plug-in;
14) In the plug-in, choose the USB port where you connected the Arduino. Select the pin you chose earlier. Link it to the desired button or other controller in Ableton Live;
15) The lace is now connected to the controller. Fix the middle of the stretchable ribbon near the end of the slackline and tie both ends of the cotton ribbon behind the tree on which the slackline is attached. The slackline, the tree and the sensor form a right-angled triangle;
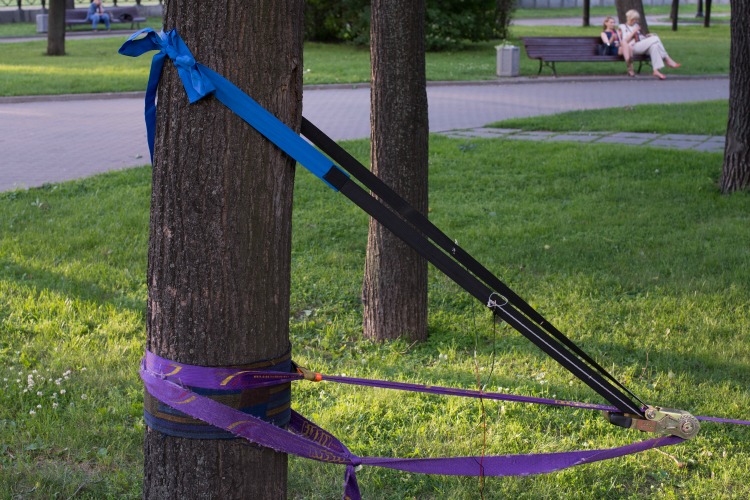
16) Ready; let’s play!

The Playtronica slackline can be seen from July 1-3 at the Macki Music Festival in Carrières-sur-Seine (France)