
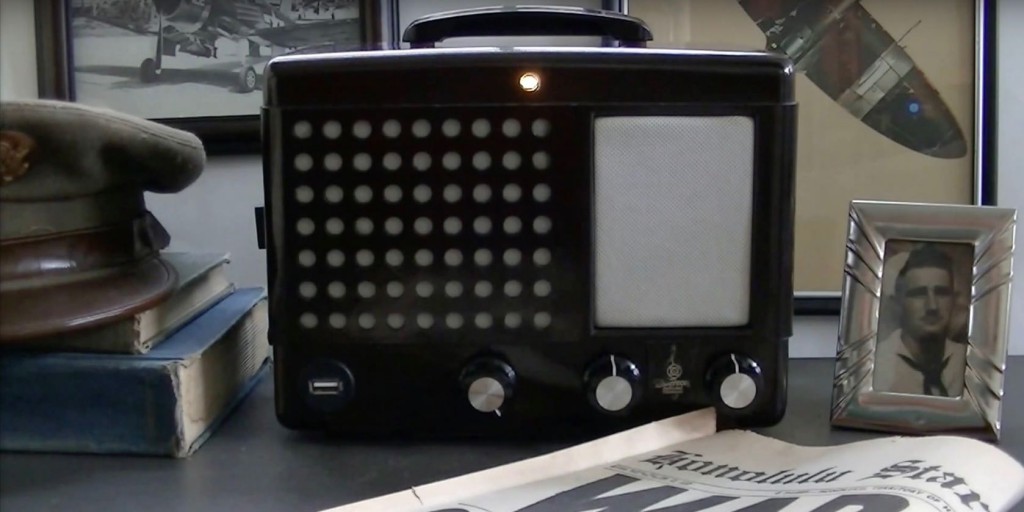
Bluetooth speaker in a 1945 Emerson Radio. © DR
The nice radios that can’t read a smartphone playlist are no longer popular. What if we mixed state-of-the-art Bluetooth speakers, often expensive or charmless, with a disused device?
The first reason to have fun turning an old transistor radio into a Bluetooth speaker is that it is aesthetically pleasing: as soon as they appeared on the market, AM/FM radios were desirable objects for designers, like portable speakers today. Except that a speaker signed by a designer costs €100 or more. Another good reason to launch into this easy hack, retro-tech as hell. The process is very much the same for all the radios you want to give a second connected life to.
Necessary equipment:
– A portable AM/FM radio
– An entry entry level Bluetooth speaker
– A soldering iron
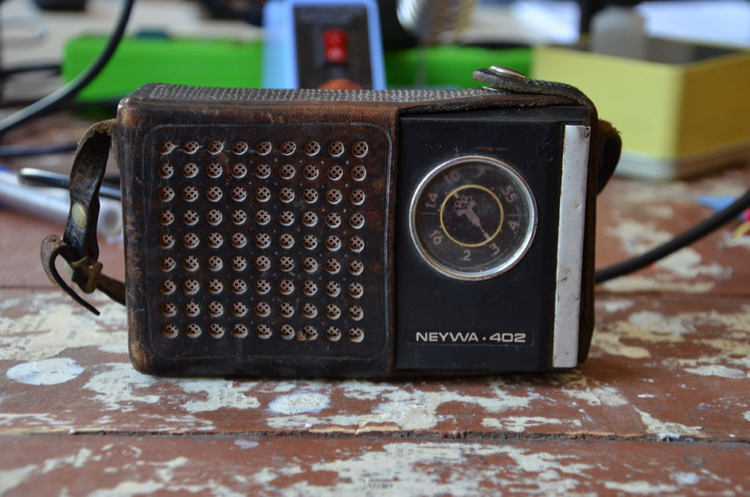
Step 1: choose a radio
The first step consists in finding a portable vintage radio with a nice look. Unless you have one put away in the attic, all you need to do is bargain-hunt on the Internet or in real life. The choice is vast, from antiques to exotic models (Japanese, American…). Or Soviet, like in the tutorial given by the Estonian Madiska, that can be seen below.

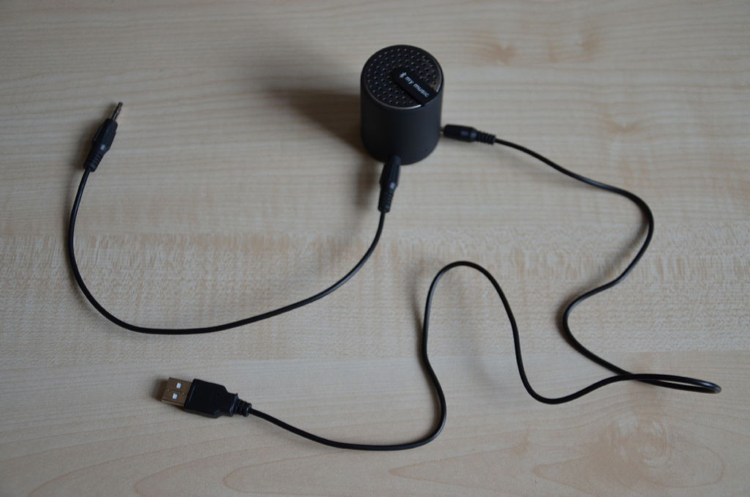
Step 2: find a Bluetooth speaker
An entry level Bluetooth speaker or its second hand equivalent to sacrifice. Estimated cost: between €6 and €10.
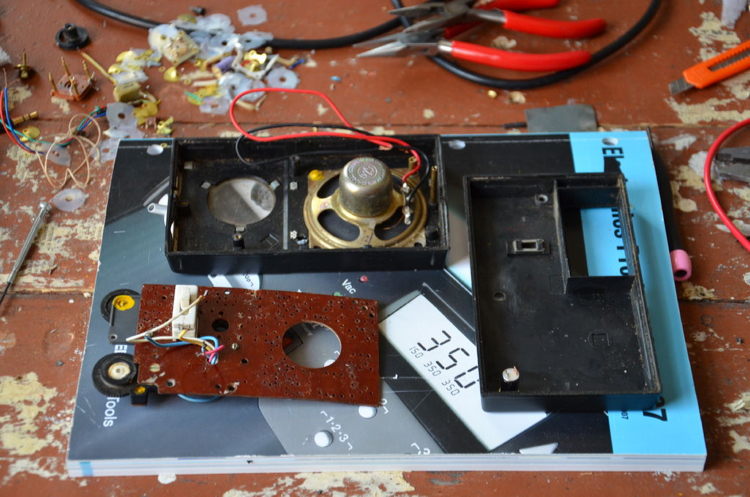
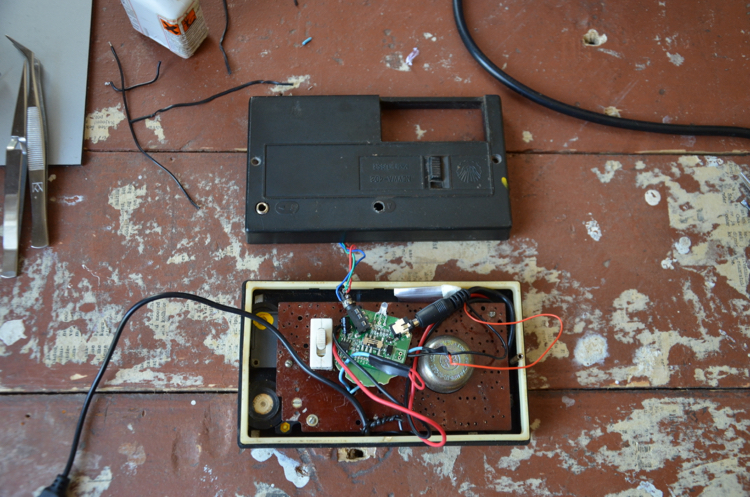
Step 3: empty the radio of its components
Remove all the components that concern the radio part and only retain the on/off switch and the loudspeaker.
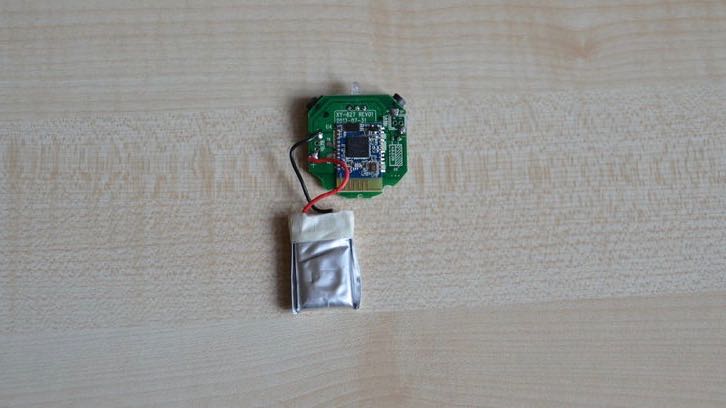
Step 4: remove the transmitter from the Bluetooth speaker
Dismantle the speaker and retrieve the Bluetooth transmitter. Keep the rechargeable battery and the USB cable for charging.

Step 5: connect the radio loudspeaker to the Bluetooth transmitter
Solder the wires of the original loudspeaker of the radio on the contact of the Bluetooth transmitter: easy, it’s the contact that was linked to the loudspeaker of the Bluetooth speaker. The USB rechargeable battery of the transmitter will be used to power everything up.
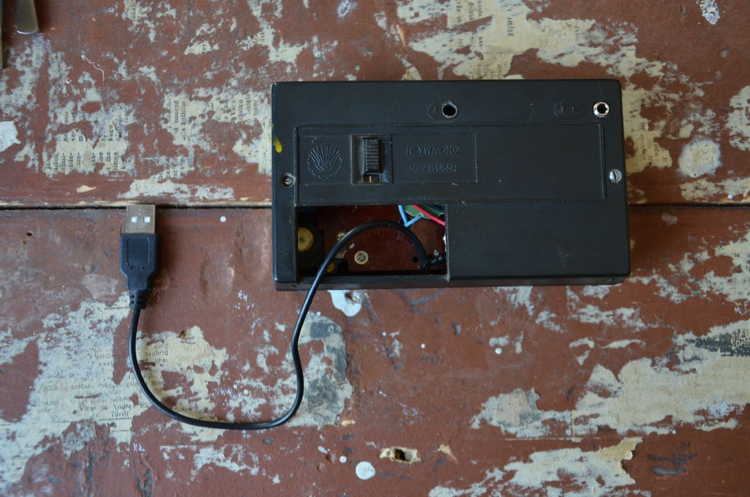
Step 6: reassembly
Place the Bluetooth transmitter in such a way as to position the USB cable exit on the side of the former battery compartment. The latter will serve as a space to fold in the cable.
The result on video by Madiska:

A notch above
If you are feeling bold and your radio is more imposing, you could look to incorporate a more powerful loudspeaker.
You will need to acquire a suitable power supply and you will also gain autonomy (a charger and a 2,500 mAh battery for example). We recommend this tutorial from an old Toshiba AM radio (approximatively €30).
Obviously, the less original elements you keep, the more prices go up: you are leaving upcycling to enter a form of restoration of ancient objects. Some people make it a little resale business of collector radios (cf. cover photo).
Beginner maker level: Madiska’s tutorial from a Soviet transistor
Advanced level: the tutorial from a Toshiba radio