
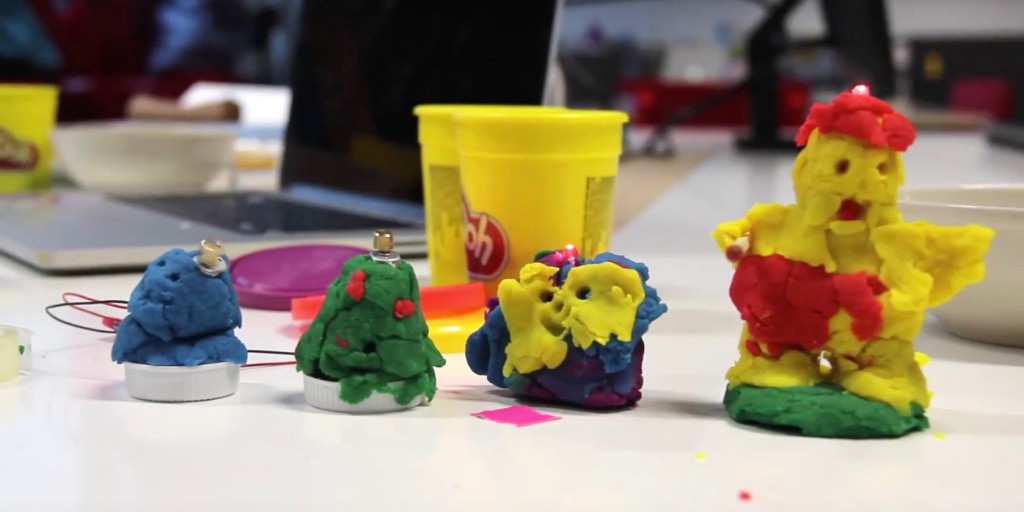
Robot-monsters made by children during Tartaruga Feliz's Junior Lab. © Glück Workshops
Children are creative, but when they have nothing to build, they take things apart. Here are some robot-monsters tested by a workshop in Berlin to initiate the little ones to constructive tinkering.
Glück is an art and technology workshop based in Berlin created by Brazilian maker Tartaruga Feliz (“happy turtle” in Portuguese). Every Monday, the illustrator introduces children to tinkering in her Junior Lab. “I created Glück Workshops to explore creativity in childhood,” she explains. “When you stimulate the capacity to create with art and technology at a young age, you unlock a part of your brain for life. I experiment my ideas with the children and I choose one experiment to post each week on my website.”
These are basic experiments, colorful and cheap to reproduce indefinitely, so that DIY for kids breaks away from the well-worn paths forged by Lego… We selected one of these basic recipes to make to clay robots in record time (all photos are screenshots from Glück Workshops).
For two robots-monsters, you will need:
Modeling clay
1 LED (preferably strobe or colored, it’s more fun).
Miniature 3V motor
3V coin cell batteries (buy a pack, it’s cheaper)
Tape or electric paint
Big plastic bottle cap
Robot-monster #1
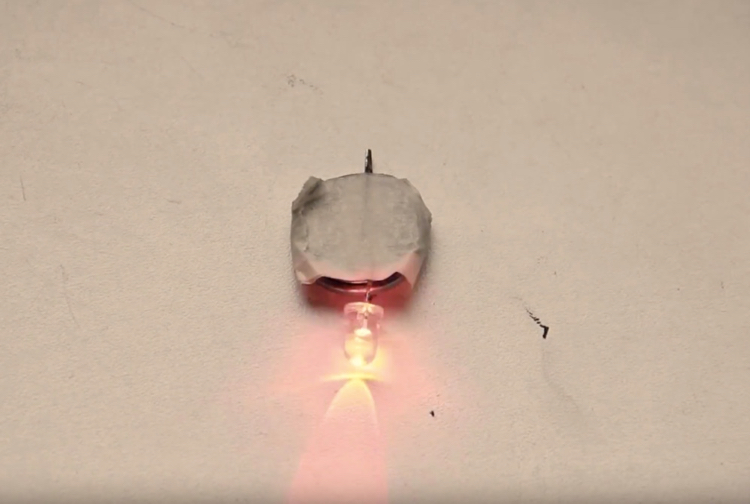
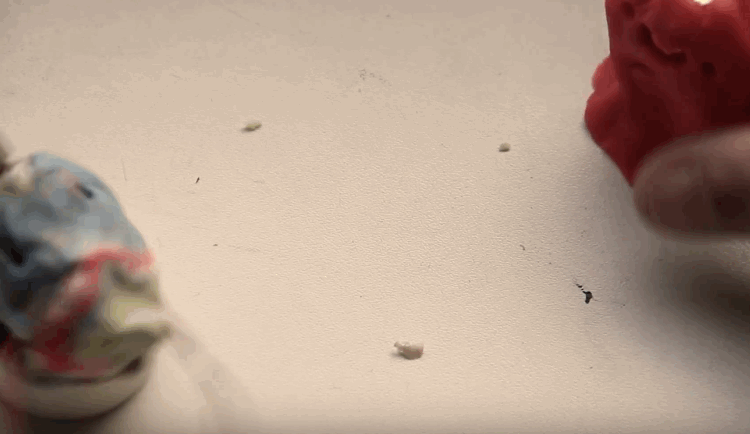
Connect the LED to the coin cell battery
Use tape or apply electric paint (instead of soldering) and wait for it to dry.

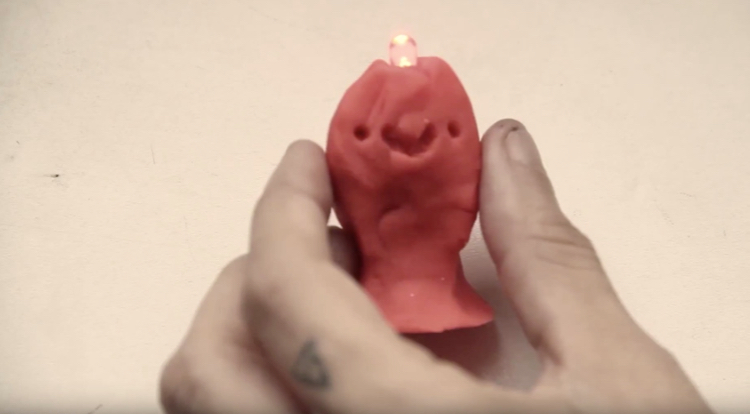
Cover the entire battery with clay
Only the LED should be visible on top of the robot’s head.

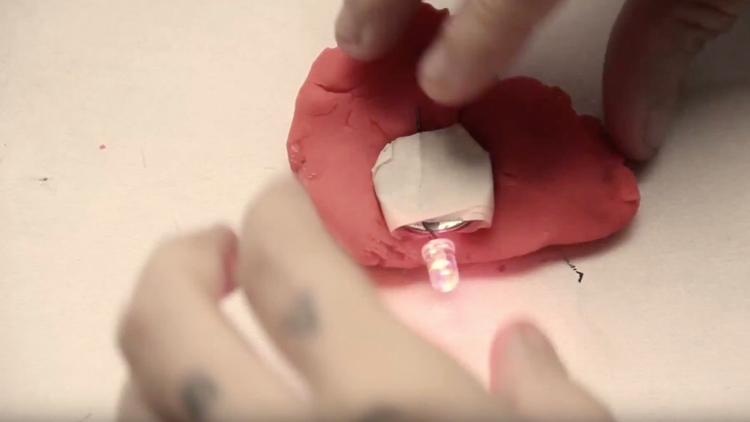
Shape the body and draw the face
Use the wooden end of a matchstick to carve into the clay.

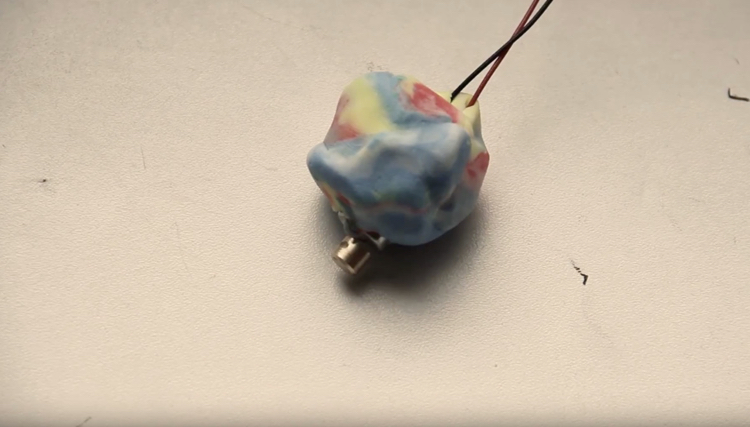
Robot-monster #2
Cover the 3V motor with clay
Let the rotating part stick out.

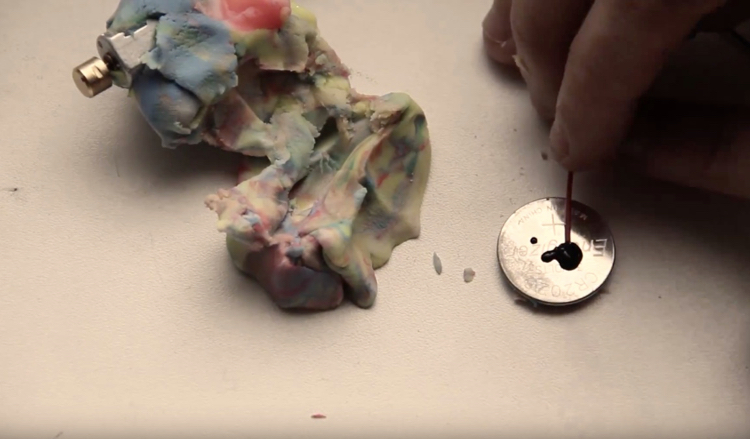
Connect the battery to the motor
Same as for the first one, use tape or electric paint (as below).

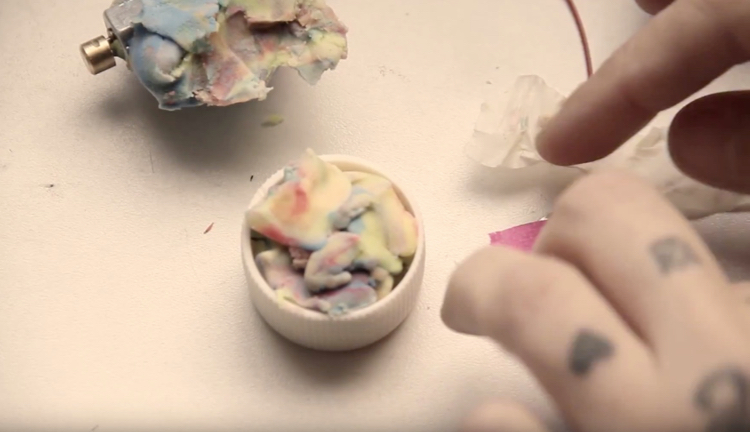
Use the plastic cap for the base
Fill the cap with clay to make the base of the robot-monster. A flat surface against the table will make it easier to rotate.

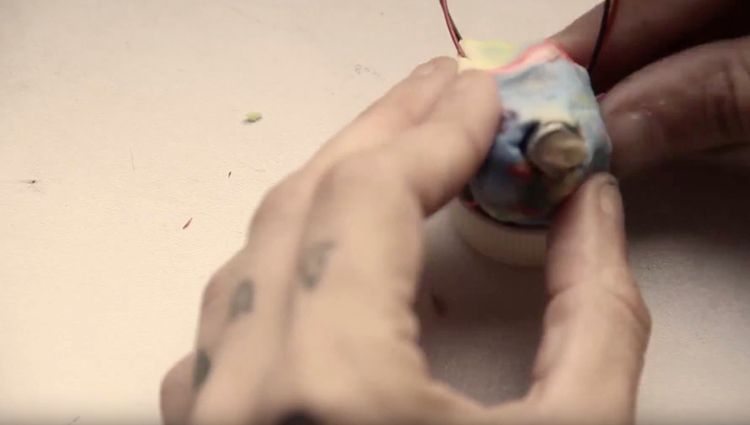
Attach the head to the base
Leave the rotating part sticking out, along with the wires between the battery and the motor, to make it look like a robot. You can also decorate it with cardboard to draw the circuits, robot skin, etc.

Ta-da! Two robots, one that blinks and one that spins—much more fun once they come to life.

If the children want to continue their adventures in the wonderful world of electrons, the Glück Workshops website offers other similar tutorials.
Brush robot

Light in the dark house