
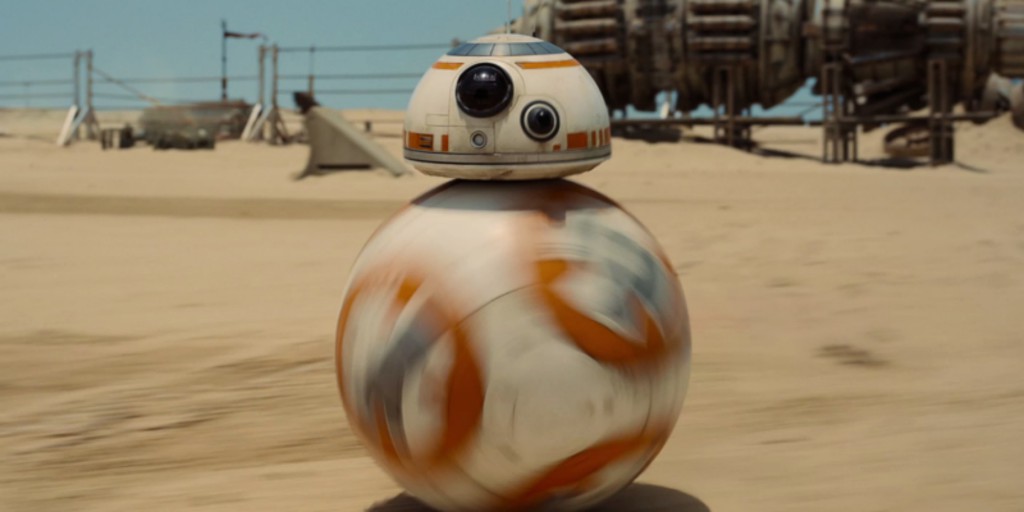
The "real" BB-8, podgy droid from the next Star Wars. © Disney
Whilst waiting for December and the new Star Wars saga, BB-8, the droid replacing R2D2, has become a favourite with the fans. Making of its DiY version by an American designer.
The new Star Wars trilogy, episode 7 of which can be viewed on screens on December 18th, is setting the Web on fire. Two small trailers broadcasted and already, an avalanche of fans enamoured with the podgy droid BB-8, the R2D2 of The Force Awakens. J.J. Abrams, its director, returned to the animatronics recipe for this adventure, chronologically situated after the initial trilogy of the 1970s. The small robot BB-8 exploits the magic of the gyroscope, this angular momentum conservation.
BB-8 on stage at the Disney Star Wars convention on April 17th, 2015:

To everyone’s surprise, BB-8 turned up during a celebration organised by Disney and dedicated to the Star Wars saga on the 17th of April. Kathleen Kennedy from Lucasfilm revealed that the start-up Sphero that designed the eponymous remote control gyroscopic ball had been chosen to develop the BB-8 droid.
Pending the merchandised BB-8s, Christian Poulsen, a designer from Utah, made a DIY and miniature version of it… from a Sphero ball as it happens. On your droids, get set, go!
Material
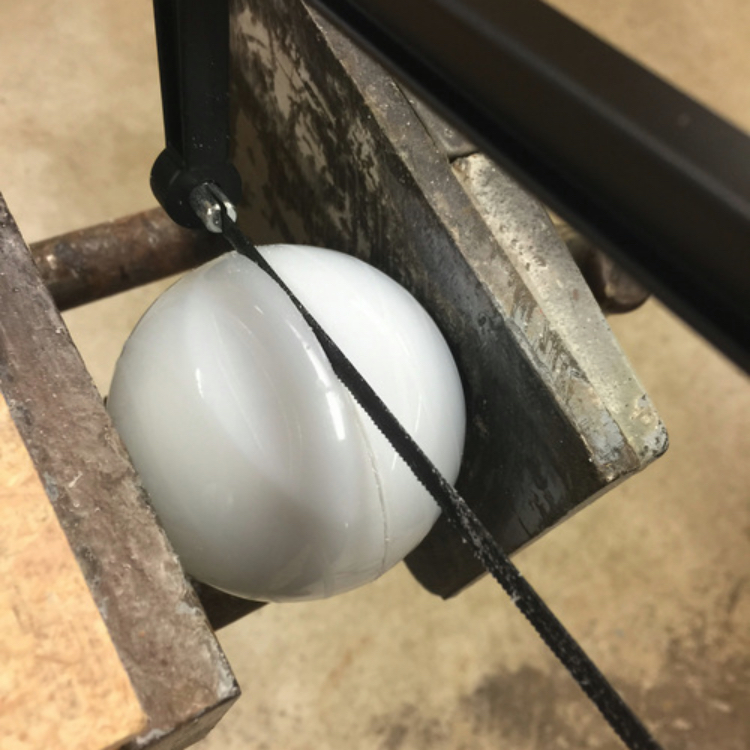
– A bluetooth Sphero ball. We are talking about the 1.0 version you can find second hand for € 50 – the Sphero 2.0 costs about € 130 and has not been tested for cutting.
– A block of polyurethane foam.
– Two neodymium magnets.
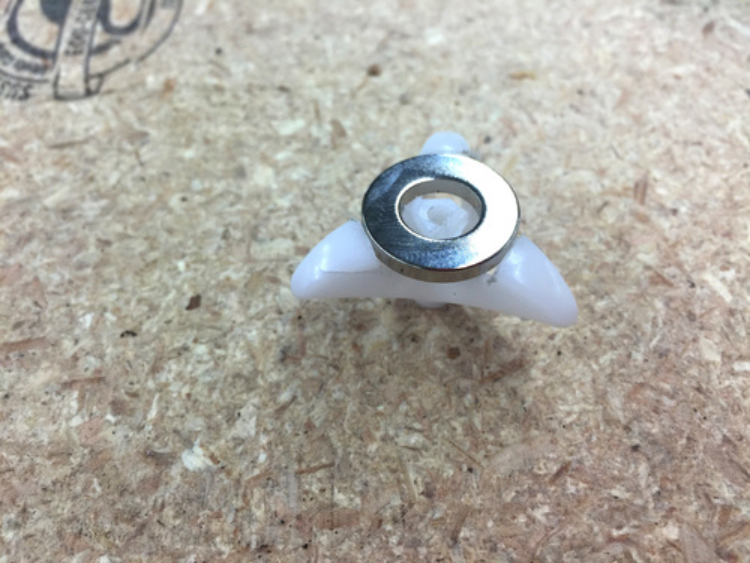
Putting on the first magnet
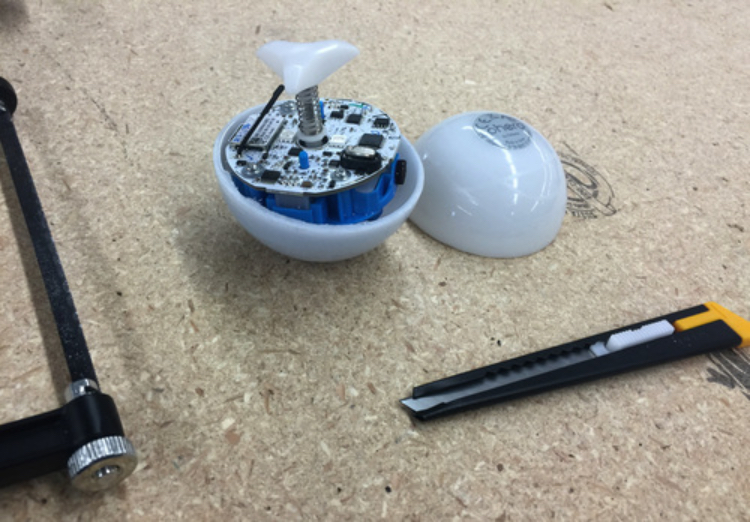
The Sphero is split open to access the mechanism.


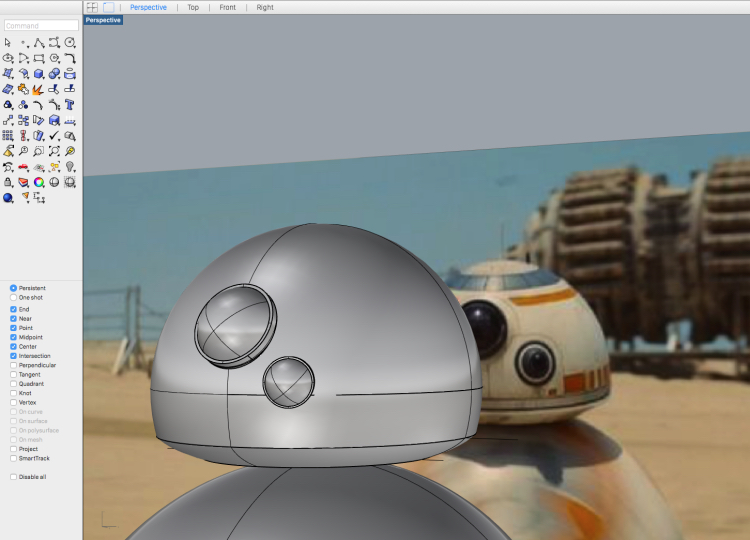
Creation of the head
The head was designed on the Rhino software and machined in polyurethane foam on a CNC machine. Coating was used to carry out the finishing touches.


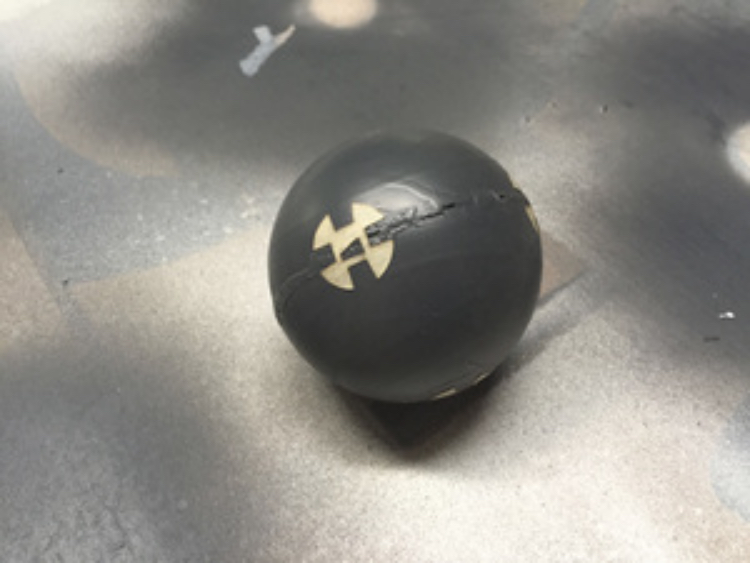
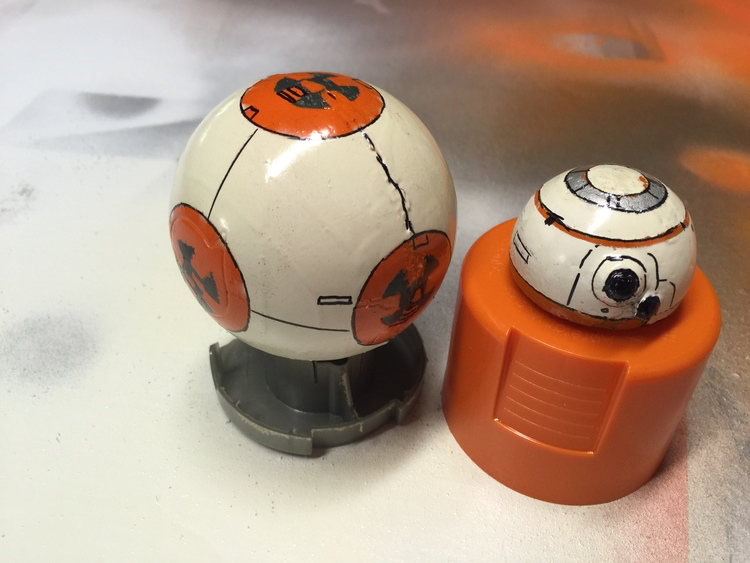
Decoration of the sphere
The base of the cover is in Plasti Dip. This opaque grey base also allows you to conceal the green flash from the Sphero LEDs. The top of the coating is very important since it avoids frictions between head and body.

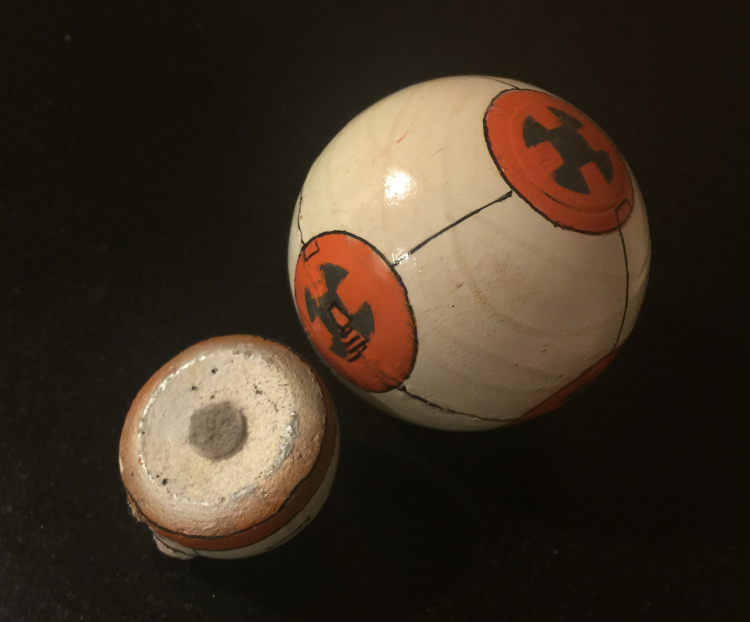
Putting on the second magnet
Poulsen places the magnet under the head and adds a small adhesive felt pad.


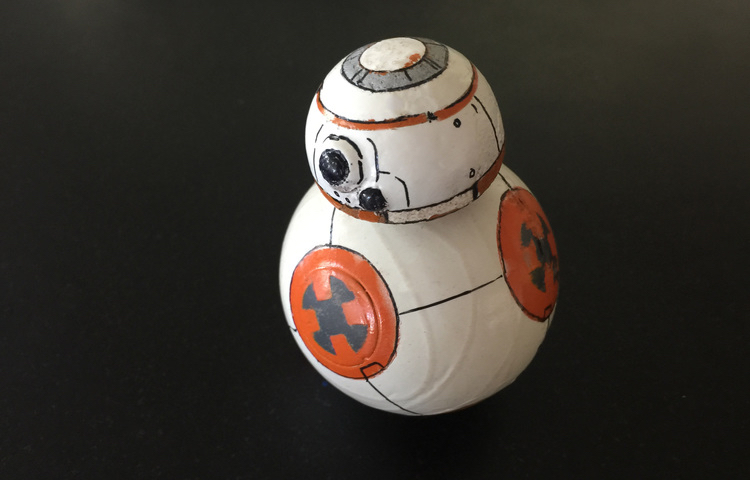
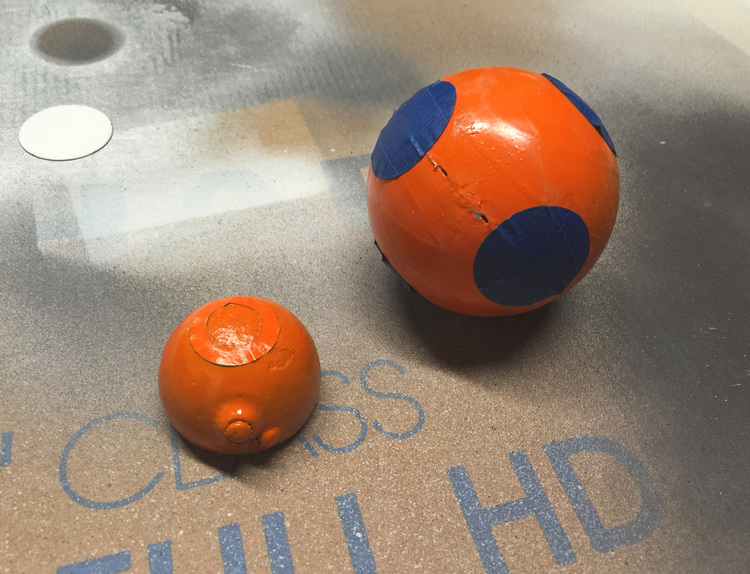
The droid is controlled with the Sphero application. Although the head makes the ball heavier, the gyro will correct the stability. And it works!


The technology used for the « real» droid could have its gyroscopes in the head rather than in the body.
And the robotics world is racking its brains to make a full-scale model. So the Brit James Bruton from Xrobots designed a balanced head with an Arduino Pro mini. His DIY is however on a level that significantly exceeds our DIYs!